How to Make the Best Thumbprint Cookie Recipe
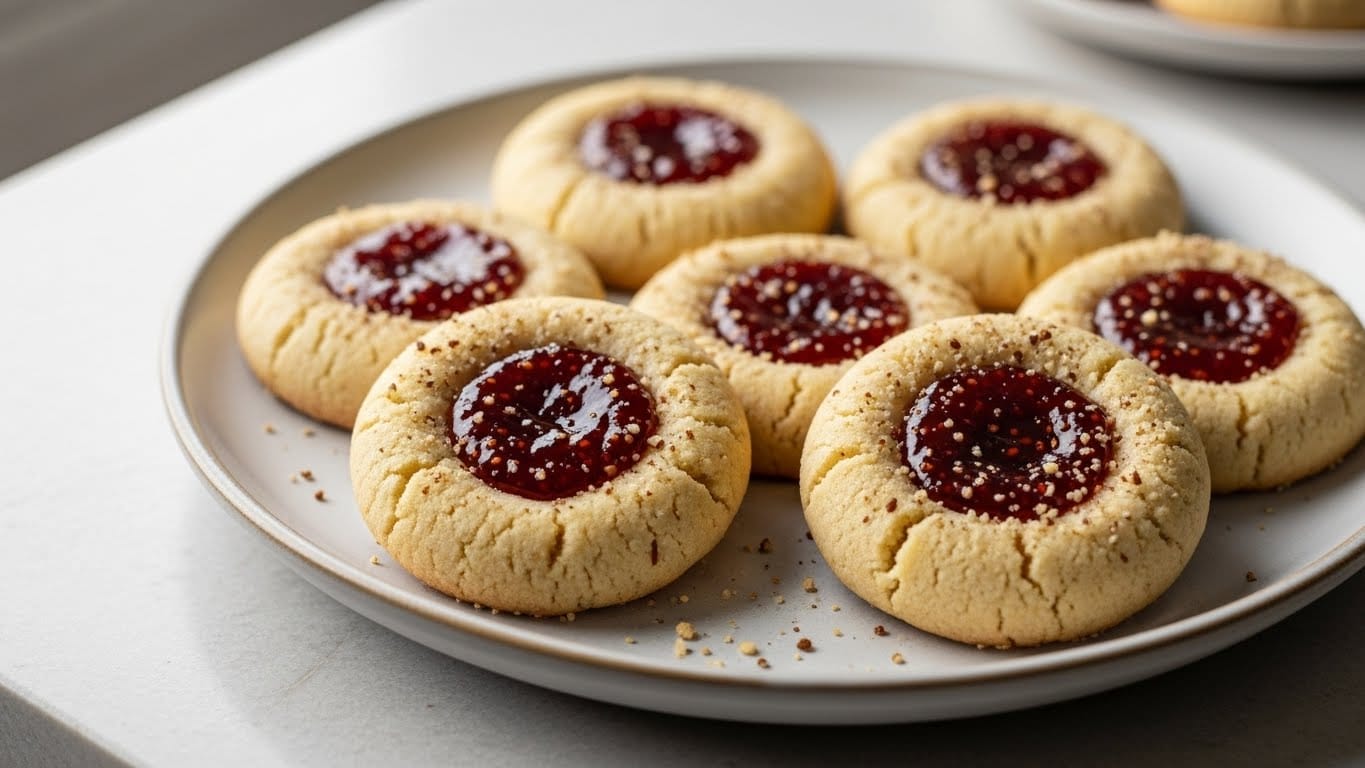
Table of Contents
Introduction
Have you ever craved a cookie that perfectly balances buttery richness with sweet, fruity filling? The classic thumbprint cookie recipe might be just what you’re looking for! These nostalgic treats, often associated with holiday baking, are surprisingly simple to make yet impressive to serve. With their crisp edges, tender centers, and colorful jam-filled indentations, these cookies delight both the eyes and taste buds. Let’s discover how to create these beloved butter cookie thumbprints that will have everyone asking for seconds.
Ingredients List
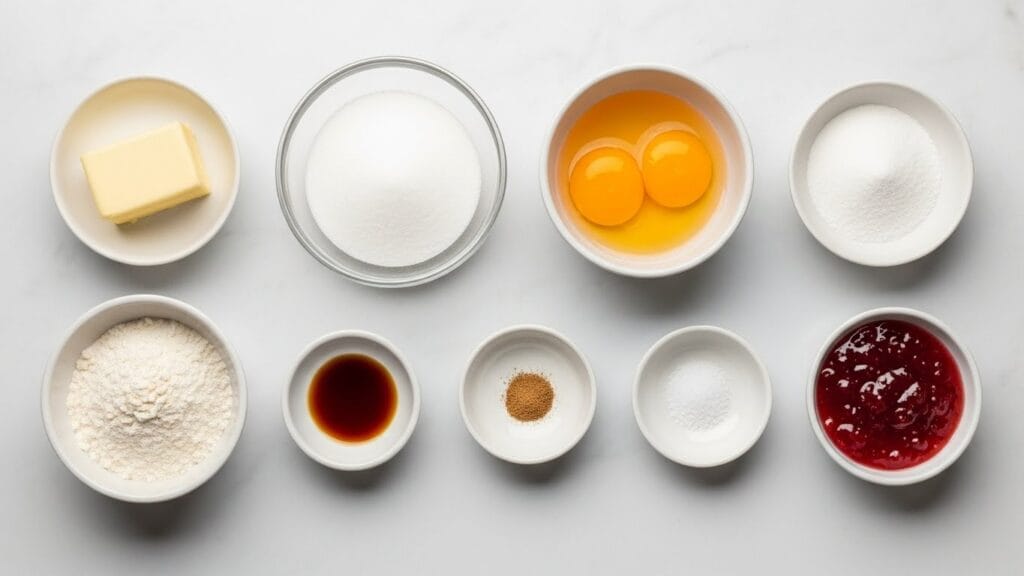
- 1 cup (2 sticks) unsalted butter, softened to room temperature
- 2/3 cup granulated sugar
- 2 large egg yolks, room temperature
- 1 teaspoon pure vanilla extract
- 1/4 teaspoon almond extract (optional, but adds wonderful depth)
- 2 1/4 cups all-purpose flour
- 1/2 teaspoon salt
- 1/3 cup your favorite fruit preserves (raspberry, strawberry, or apricot work beautifully)
Substitution options:
- Replace all-purpose flour with 1:1 gluten-free flour blend
- Use coconut sugar instead of granulated sugar for a deeper flavor
- For dairy-free, substitute plant-based butter sticks (ensure they’re formulated for baking)
Timing
- Prep time: 20 minutes (includes chilling the dough)
- Baking time: 12-14 minutes
- Total time: 35 minutes
This quick thumbprint cookie recipe saves you about 15 minutes compared to traditional versions that require lengthy chilling times. Perfect for when you need delicious cookies without the long wait!
Step 1: Prepare the Dough
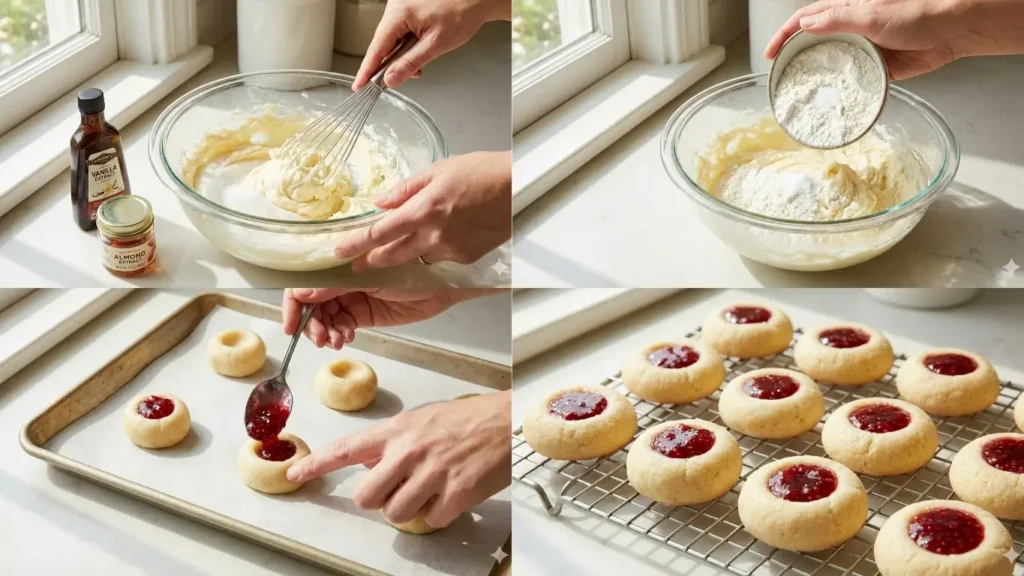
In a large mixing bowl, cream together the softened butter and sugar until light and fluffy, about 2-3 minutes. Don’t rush this step—proper creaming incorporates air for the perfect texture. Add egg yolks one at a time, mixing well after each addition, then blend in the vanilla and almond extracts.
Step 2: Mix Dry Ingredients
In a separate bowl, whisk together flour and salt. Gradually add this dry mixture to the wet ingredients, mixing on low speed until just combined. Be careful not to overmix, which can make your cookies tough rather than tender.
Step 3: Shape the Cookies
Roll the dough into 1-inch balls (about 1 tablespoon each). Place them 2 inches apart on parchment-lined baking sheets. Using your thumb or the back of a 1/4 teaspoon measuring spoon, make an indentation in the center of each cookie.
Step 4: Fill and Bake
Fill each indentation with about 1/2 teaspoon of fruit preserves. For perfect filling, warm your preserves slightly to make them easier to spoon. Bake at 350°F for 12-14 minutes until the edges are just beginning to turn golden. Cool on the baking sheet for 5 minutes before transferring to a wire rack.
Nutritional Information
Per cookie (based on 24 cookies):
- Calories: 135
- Protein: 1g
- Carbohydrates: 15g
- Fat: 7g
- Fiber: 0.2g
- Sugar: 8g
Healthier Alternatives for the Recipe
For a lighter version, try these modifications:
- Replace half the butter with unsweetened applesauce
- Use reduced-sugar preserves or homemade chia seed jam
- Substitute whole wheat pastry flour for half of the all-purpose flour
- For keto-friendly cookies, use almond flour and a sugar substitute like erythritol
Serving Suggestions
These thumbprint cookies pair wonderfully with:
- A glass of cold milk or plant-based alternative
- Hot tea or coffee for afternoon treats
- Vanilla ice cream for a delightful dessert
- Add them to a cookie platter with contrasting flavors like chocolate and spiced varieties
Common Mistakes to Avoid
- Indentation problems: If your thumbprints disappear during baking, re-press them immediately after removing from the oven
- Crumbly dough: This indicates too much flour; add 1-2 teaspoons of milk to fix
- Jam overflow: Don’t overfill the indentations; use just enough to reach the edges
- Uneven baking: Rotate your baking sheet halfway through the baking time for consistent results
Storing Tips for the Recipe
These cookies stay fresh in an airtight container at room temperature for up to 5 days. For longer storage, freeze unfilled cookies for up to 3 months. Thaw at room temperature and add preserves before serving. For make-ahead convenience, freeze the dough balls with indentations, then thaw, fill, and bake when needed.
Conclusion
This thumbprint cookie recipe combines simplicity with delicious results, making it perfect for both novice and experienced bakers. The versatility of fillings means you can customize these treats for any occasion or preference. Why not bake a batch today? Your family and friends will be impressed with these homemade delights that look like they came from a professional bakery!
FAQs
Can I use different fillings besides fruit preserves?
Absolutely! Try chocolate ganache, caramel, lemon curd, or even Nutella for delicious variations.
Why did my cookies spread too much during baking?
Your butter was likely too warm. Chill the shaped cookies for 15-20 minutes before baking if your kitchen is warm.
Can I make these cookies ahead of time for a party?
Yes! Prepare and freeze unfilled cookies up to 3 weeks ahead, then thaw and add jam before serving.
How do I prevent the jam from bubbling over during baking?
Make sure your indentations are deep enough and don’t overfill them. Using thicker preserves rather than runny jams also helps.
Are thumbprint cookies suitable for shipping or gifting?
They’re excellent for gifting but require careful packaging for shipping. Layer them between parchment paper in a sturdy container to prevent damage.
How did you like the recipe?
There are no reviews yet. Be the first one to write one.