Why This Cherry Pie Filling Recipe Tastes Amazing
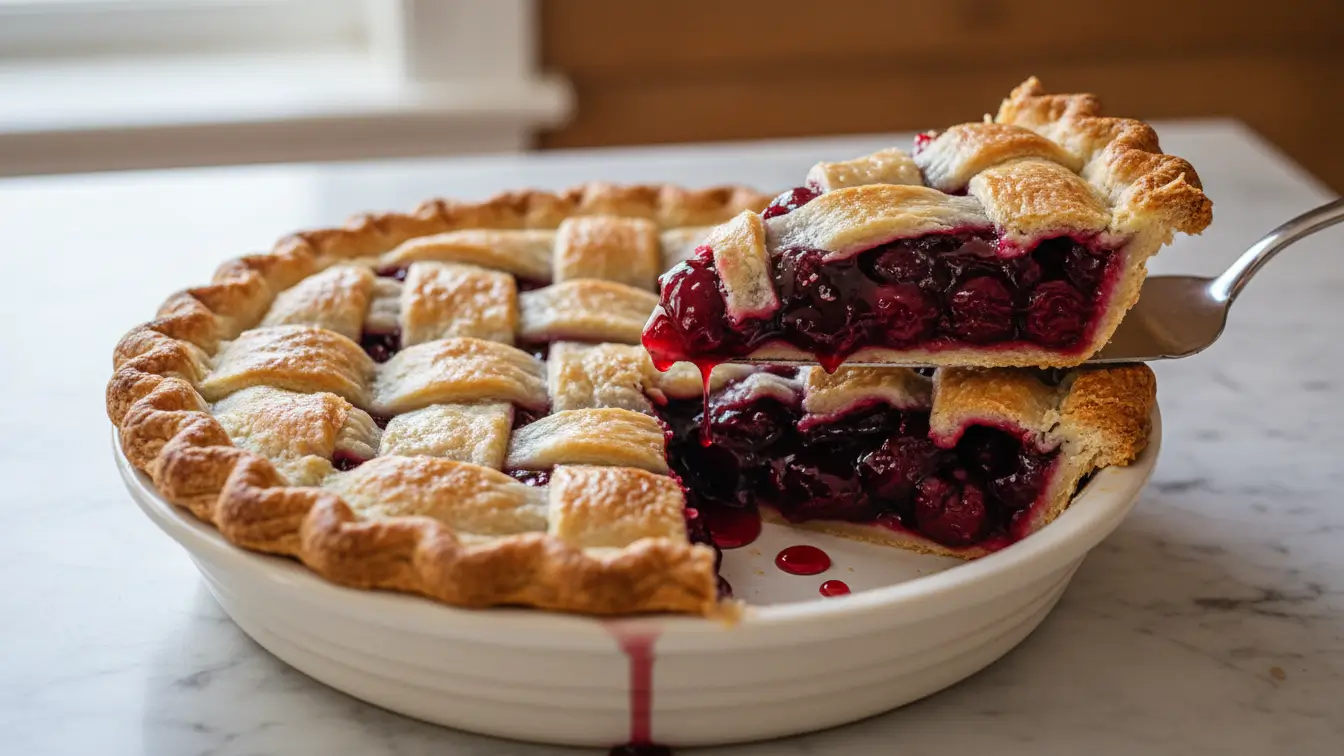
Table of Contents
Sweet Cherry Comfort
There’s something instantly cozy about a pot of cherries simmering on the stove—bright, jammy aroma, glossy bubbles, and that first taste that hits both tart and sweet. This is the kind of treat you make when you want a classic pie for a family gathering, a quick dessert for a cozy evening, or simply a spoonable topping for breakfast. This cherry pie filling recipe is designed to taste bold and fresh (not flat or overly sugary), with a silky texture that slices cleanly. Gather your ingredients, and you’ll be stirring into cherry bliss in minutes.
Ingredients
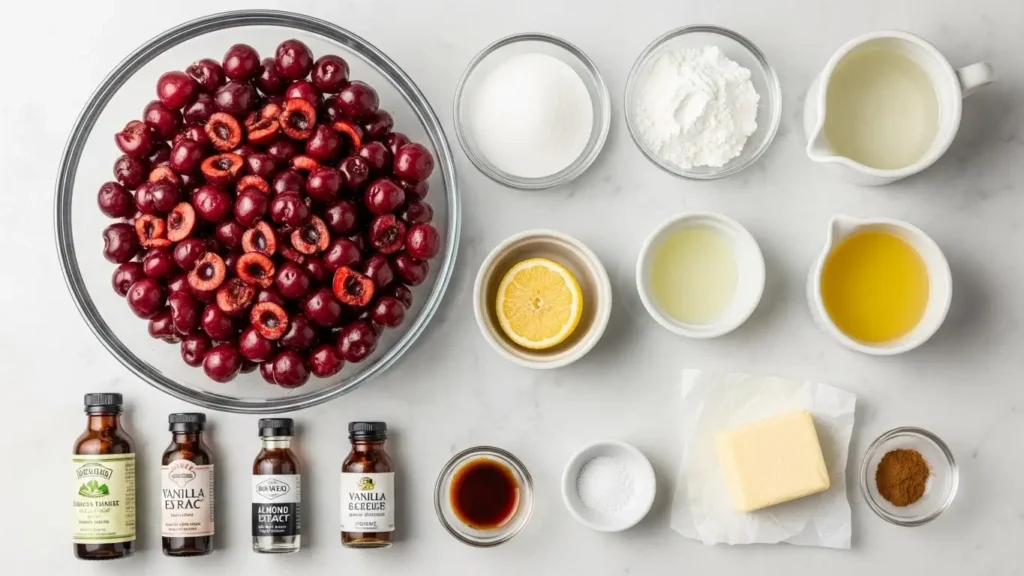
- 4 cups (about 600 g) pitted cherries, fresh or frozen (thawed)
- 3/4 cup (150 g) granulated sugar
- 3 tbsp (24 g) cornstarch
- 1/4 cup (60 ml) water (or cherry juice if you have it)
- 1 tbsp (15 ml) fresh lemon juice
- 1/8 tsp fine salt
- 1/2 tsp vanilla extract
- 1/4 tsp almond extract (optional, but makes the cherry flavor pop)
- 1 tbsp (14 g) unsalted butter (optional, for extra gloss and richness)
- Pinch of ground cinnamon (optional)
Notes:
- If your cherries are very sweet, you can reduce sugar to 2/3 cup (135 g).
- If using frozen cherries, save any juices from thawing and use them in place of some water.
Timing
- Prep Time: 10 minutes
- Cook Time: 10–12 minutes
- Total Time: 20–25 minutes (including a short cool-down)
Most of the time is hands-on stirring and watching the thickening happen; cooling is the “waiting” part.
Step-by-Step Instructions
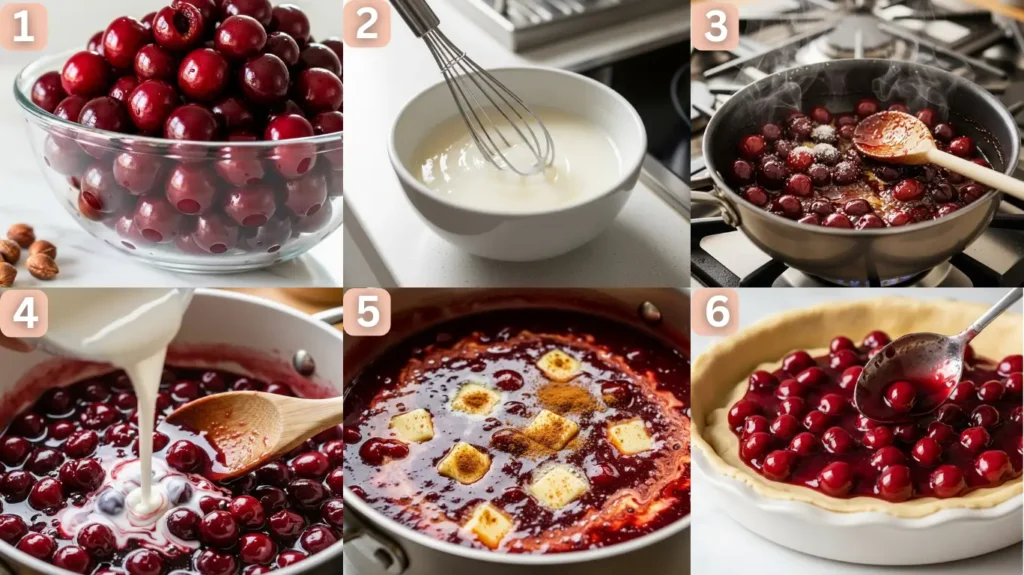
Step 1: Prep the cherries
Pit fresh cherries and measure 4 cups, or thaw frozen cherries and drain (save the juice). If your cherries are very wet, don’t worry—this filling is built to thicken reliably. Give the cherries a quick taste so you can adjust sugar later if needed.
Step 2: Mix the thickener
In a small bowl, whisk the cornstarch with the water (or cherry juice) until completely smooth—no lumps. This quick slurry prevents that dusty cornstarch taste and avoids clumps in the final filling. Set it next to the stove so you can add it at the right moment.
Step 3: Start the simmer
Add cherries, sugar, lemon juice, and salt to a medium saucepan over medium heat. Stir as the sugar dissolves and the cherries begin to release their juices. Keep it at a gentle simmer; a hard boil can break down the fruit too much and make the filling muddy.
Step 4: Thicken to glossy perfection
Whisk the cornstarch slurry again, then pour it into the simmering cherries while stirring constantly. Within 1–2 minutes, you’ll see the mixture turn shiny and noticeably thicker. Cook for another 1–2 minutes to fully activate the starch—this is key for a cherry pie filling recipe that sets cleanly.
Step 5: Finish the flavor
Remove the pan from heat and stir in vanilla and (if using) almond extract, butter, and cinnamon. The extracts are best added off-heat so they stay fragrant. Taste and adjust: a tiny pinch more salt can sharpen the cherry flavor, and an extra teaspoon of lemon juice can brighten a very sweet batch.
Step 6: Cool before using
Let the filling cool 20–30 minutes before adding it to pie dough or spooning onto desserts. It thickens even more as it cools, so don’t panic if it looks slightly loose while hot. If you’re baking a pie, using cooled filling helps prevent a soggy bottom crust.
Variations & Substitutions
- Use sour cherries (or add tang): If you have tart cherries, keep the sugar at 3/4 cup (or even 1 cup/200 g if you like it sweeter). With sweet cherries, bump lemon juice to 1 1/2 tbsp for a brighter, bakery-style bite.
- Swap cornstarch for tapioca starch: Use 3 tbsp tapioca starch for a slightly silkier, more translucent filling. It’s great when you want a super glossy look.
- Add warm spice: Cinnamon is subtle, but you can also add a tiny pinch of cardamom for a floral note. Spices make the filling feel more “holiday,” especially in cooler months.
- Make it extra chunky: Stir in 1/2 cup extra cherries after thickening (off heat). You’ll get more whole-fruit texture—perfect if you love bites of cherry instead of a jammy uniform filling.
Serving Suggestions
- Spoon it into a baked pie shell and top with whipped cream for a low-effort “cheater” pie night.
- Layer it into yogurt or overnight oats on quiet mornings for a dessert-for-breakfast vibe.
- Warm it and pour over vanilla ice cream for cozy evenings (it turns into an instant cherry sauce).
- Spread it over pancakes or waffles when you want something brighter than maple.
- Use it as a topping for cheesecake at family gatherings—glossy cherries make any dessert look celebratory.
Common Mistakes to Avoid
- Boiling too aggressively: A rapid boil can make cherries break down and the filling turn cloudy. Keep it at a steady simmer and stir gently.
- Not cooking the starch long enough: If you stop as soon as it thickens, it can weep later. Give it an extra minute or two after thickening so the cornstarch fully cooks.
- Adding extracts too early: Vanilla and almond extract can taste dull if cooked too long. Stir them in off heat for the best aroma.
- Using hot filling in pie dough: Hot filling steams the crust and encourages sogginess. Cool it first—this one habit makes your pies dramatically better.
Storage & Reheating
- Room temperature: If you’re using it the same day, you can let it sit out up to 2 hours while it cools and you assemble dessert.
- Refrigerator: Store in an airtight container for up to 5 days. It will firm up when cold; that’s normal.
- Freezer: Freeze for up to 3 months in a freezer-safe container. Thaw overnight in the fridge for best texture.
- Reheating: Warm gently in a saucepan over low heat, stirring often. If it’s too thick after chilling, add 1–2 tbsp water or cherry juice to loosen without making it runny.
Frequently Asked Questions
Can I use frozen cherries for this?
Yes—frozen cherries work beautifully. Thaw them first, then use some of the thawed juices in place of water for a deeper cherry flavor.
How do I make this less sweet?
Start with 2/3 cup sugar and keep the lemon juice at 1 tbsp (or a touch more). The salt also matters; a small pinch helps balance sweetness without making it salty.
Will this work as an easy cherry pie filling for a baked pie?
Absolutely. Let the filling cool before adding it to your crust, then bake your pie as usual. Cooling helps the filling stay in place and reduces the chance of a soggy bottom.
Why is my filling runny?
Usually it’s one of three things: not enough starch, not simmering long enough after adding the slurry, or not letting it cool. This cherry pie filling recipe thickens significantly as it cools, so give it time before judging.
Can I make this ahead for the holidays?
Yes—this is one of those make-ahead wins. Prepare it 1–3 days ahead, refrigerate, and you’ll have an easy cherry pie filling ready to go when you need it.
Conclusion
Once you’ve made this a couple of times, you’ll recognize the key cues: the moment it turns glassy, the way it coats the spoon, and the bright cherry aroma right when you add the extracts. This cherry pie filling recipe is a reliable, flavorful base for pies, toppings, and last-minute desserts, and it’s especially handy when you want easy cherry pie filling without a can. Save it, make it once with fresh cherries and once with frozen, and see which you prefer. For a little history and context on the dessert itself, check this trusted source.
How did you like the recipe?
There are no reviews yet. Be the first one to write one.