Cake Donut Recipe: How to Make Perfect Donuts at Home
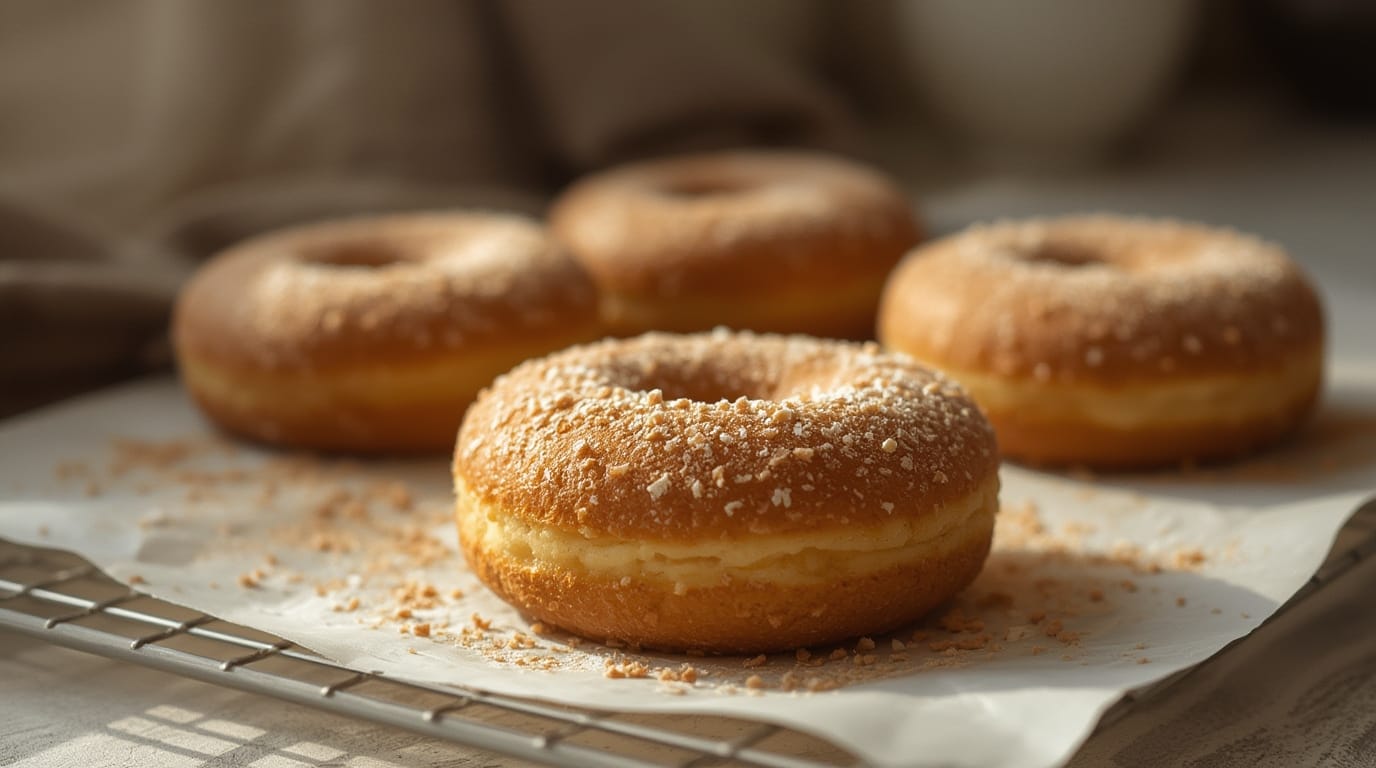
Table of Contents
A Cozy Weekend Treat
There’s something instantly comforting about warm donuts—crisp edges, tender centers, and that sweet vanilla aroma that makes the kitchen feel like a small bakery. This homemade treat is perfect for slow weekend mornings, holiday brunches, or anytime you want an easy win that feels special. If you’ve been hunting for a reliable cake donut recipe, this one gives you soft, fluffy donuts with simple pantry ingredients and a straightforward method. Grab your mixing bowl and a thermometer, and let’s start with what you’ll need.
Ingredients
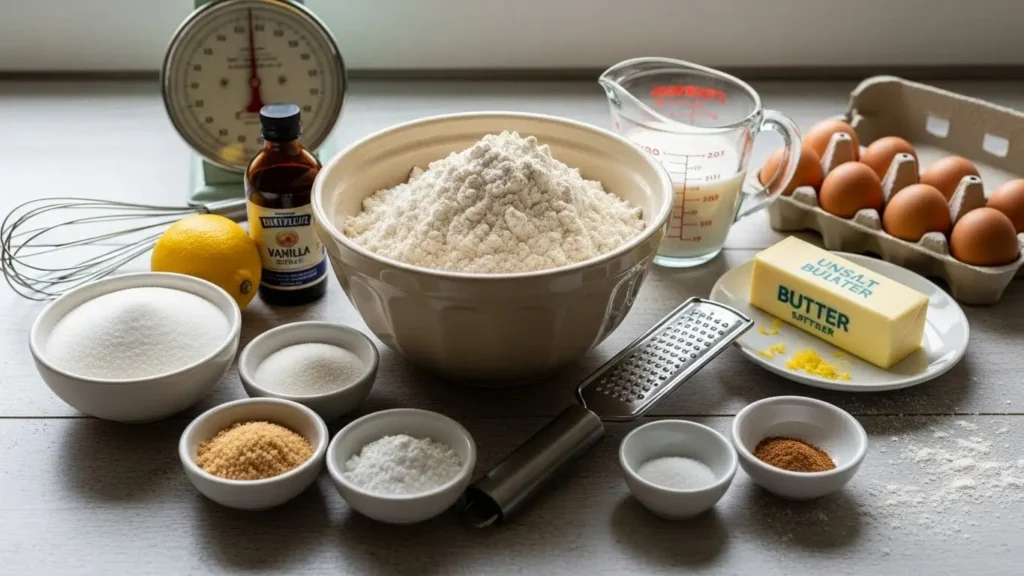
- 2 1/4 cups (270 g) all-purpose flour
- 3/4 cup (150 g) granulated sugar
- 2 tsp baking powder
- 1/2 tsp baking soda
- 1/2 tsp fine salt
- 1 tsp ground nutmeg (optional, but classic)
- 2 large eggs, room temperature
- 3/4 cup (180 ml) buttermilk, room temperature
- 1/4 cup (57 g) unsalted butter, melted and slightly cooled
- 1 tsp vanilla extract
For frying
- 6–8 cups neutral oil (canola/vegetable), for frying
For finishing (choose one)
- 1/2 cup (100 g) granulated sugar for tossing (optional)
- 1 cup (120 g) powdered sugar + 2–3 tbsp milk + 1/2 tsp vanilla for a quick glaze (optional)
- Cinnamon-sugar: 1/2 cup (100 g) sugar + 1 1/2 tsp cinnamon (optional)
Practical notes
- Buttermilk makes the crumb tender; if you don’t have it, see substitutions below.
- A donut cutter is handy, but two round cutters (or a cup + bottle cap) work fine.
Timing
- Prep Time: 20 minutes
- Cook Time: 12–18 minutes (depending on batch size)
- Total Time: 45–60 minutes (includes chilling dough briefly)
Note: Most of the time is hands-on. The short chill helps the dough handle cleanly and fry up with a nicer shape.
Step-by-Step Instructions
Step 1: Mix the dry ingredients
In a large bowl, whisk together the flour, sugar, baking powder, baking soda, salt, and nutmeg. Whisking well now prevents little pockets of leavener later. If your flour looks clumpy, give it an extra whisk (or sift) for a smoother dough.
Step 2: Combine the wet ingredients
In a medium bowl, whisk the eggs until smooth, then whisk in the buttermilk, melted butter, and vanilla. Make sure the butter isn’t hot—warm butter can partially cook the eggs and create tiny lumps. The mixture should look creamy and cohesive.
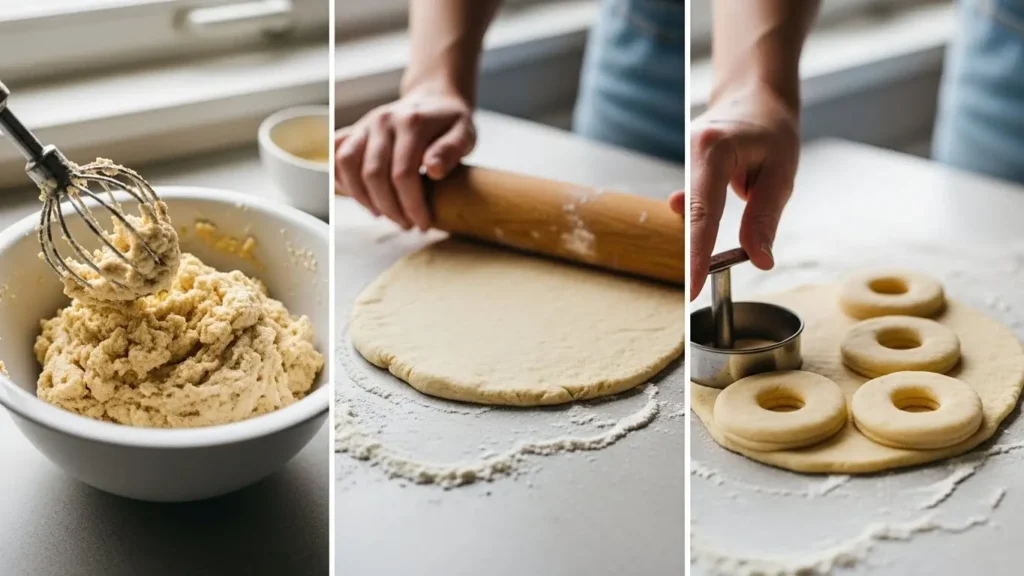
Step 3: Make the dough (don’t overmix)
Pour the wet mixture into the dry ingredients and fold with a spatula until you no longer see dry flour. The dough will be soft and slightly sticky—more like a thick cookie dough than bread dough. Overmixing is the fastest way to turn a tender cake donut recipe into a tougher, bready donut, so stop as soon as it comes together.
Step 4: Chill, then cut
Scrape the dough onto a lightly floured surface and pat it gently to about 1/2-inch (1.25 cm) thickness. Chill for 15–20 minutes (a quick rest makes cutting cleaner and reduces oil absorption). Cut donuts and holes, then gather scraps once and re-roll gently—too many re-rolls can make later donuts dense.
Step 5: Heat the oil properly
Pour oil into a heavy pot to a depth of about 2 inches and heat to 350°F (175°C). Use a thermometer and keep an eye on temperature between batches. If the oil is too hot, the outside browns before the center cooks; too cool, and the donuts soak up oil and taste heavy.
Step 6: Fry in small batches
Fry 2–3 donuts at a time, about 60–90 seconds per side, until deep golden brown. Flip with a slotted spoon or chopsticks and avoid splashing. Transfer to a wire rack (paper towels can trap steam and soften the crust), and let them cool for 2 minutes before glazing or tossing.
Step 7: Finish with sugar or glaze
For sugar or cinnamon-sugar, toss while the donuts are still warm so it clings evenly. For a simple glaze, whisk powdered sugar with milk and vanilla, then dip the tops and let set on a rack. This is the moment your kitchen starts smelling dangerously good—try not to “test” too many.
Variations & Substitutions
- Baked option (lighter, less crisp): If you love baked donut recipes, spoon the batter-style version into a greased donut pan and bake at 350°F (175°C) for 10–12 minutes. You’ll get a softer exterior and a more cake-like bite (not the same crisp edge as frying).
- Chocolate cake donuts: Replace 1/4 cup (30 g) flour with 1/4 cup (25 g) unsweetened cocoa powder. The texture stays tender, with a deeper, brownie-like flavor—especially good with a vanilla glaze.
- Spiced autumn twist: Add 1 tsp cinnamon and a pinch of cloves along with the nutmeg. It makes the donuts taste warmer and more fragrant, perfect for cozy evenings.
- No buttermilk? Mix 3/4 cup milk + 2 1/4 tsp lemon juice or white vinegar, rest 5 minutes, then use. It won’t be quite as rich as true buttermilk, but it works well in this cake donut recipe.
Serving Suggestions
- Pair with hot coffee or a strong black tea for a quiet morning treat.
- Make a “donut board” for family gatherings: glazed donuts, cinnamon-sugar donuts, and donut holes with fresh fruit.
- Serve warm with a scoop of vanilla ice cream for a cozy evening dessert.
- Add a simple brunch spread: scrambled eggs, berries, and donuts as the sweet finish.
- Dip glazed donuts into hot chocolate on chilly days—messy, nostalgic, and worth it.
Common Mistakes to Avoid
- Overmixing the dough: It develops gluten and makes donuts chewy. Fold just until combined; a few small streaks disappearing is your cue to stop.
- Skipping the thermometer: Guessing oil temperature leads to greasy or burnt donuts. Aim for 350°F and adjust the heat as you go.
- Rolling too thin: Thin dough fries fast and can dry out. Keep it around 1/2 inch for a soft, fluffy center.
- Crowding the pot: Too many donuts drop the oil temp quickly and cause uneven browning. Small batches fry more consistently.
- Glazing too soon: If donuts are piping hot, glaze can melt right off. Give them a couple of minutes so it sets nicely.
Storage & Reheating
- Room temperature: Store in an airtight container for up to 2 days. For best texture, keep glazed donuts in a single layer (or separate layers with parchment).
- Refrigerator: Not ideal—cold air can dry them out—but you can refrigerate up to 4 days if needed. Bring to room temp before eating.
- Freezer: Freeze unglazed donuts in a freezer bag up to 2 months. Thaw at room temperature, then glaze fresh.
- Reheating: Warm in a 300°F (150°C) oven for 5–7 minutes to revive that tender crumb. Microwaving works in a pinch (10–15 seconds), but it softens the exterior.
Frequently Asked Questions
Why are my donuts greasy?
The oil was likely too cool or the pot was crowded. Keep the oil near 350°F and fry in smaller batches so the temperature stays steady.
What makes a cake donut recipe different from yeast donuts?
Cake donuts rely on baking powder/baking soda for lift, so they’re quicker and have a tighter, tender crumb. Yeast donuts rise longer and tend to be airier and more bread-like.
Can I make this as a baked version instead of frying?
Yes—especially if you’re collecting baked donut recipes for easy mornings. The baked version will be softer and less crisp, but still sweet, tender, and great with glaze.
How do I know when they’re cooked through?
Look for a deep golden color and a slight spring-back when you gently press the surface. If you’re unsure, sacrifice a donut hole—split it and check that the center is set, not doughy.
Can I make the dough ahead?
You can mix the dough and refrigerate it (covered) for up to 24 hours. The donuts may brown a bit faster straight from the fridge, so monitor the oil temperature and cook time.
Conclusion
Once you get the oil temperature steady and treat the dough gently, this cake donut recipe becomes one of those reliable “anytime” comforts—warm, tender, and perfectly sweet. I tested it with both sugar-tossed and glazed finishes, and it holds up beautifully either way. Save it for weekend cravings, quick celebrations, or whenever you want your kitchen to smell like a bakery. If you’re curious about the background of cake-style donuts, here’s a trusted source.“It’s the kind of recipe you’ll come back to whenever you want something familiar, comforting, and guaranteed to make people smile.”
How did you like the recipe?
There are no reviews yet. Be the first one to write one.